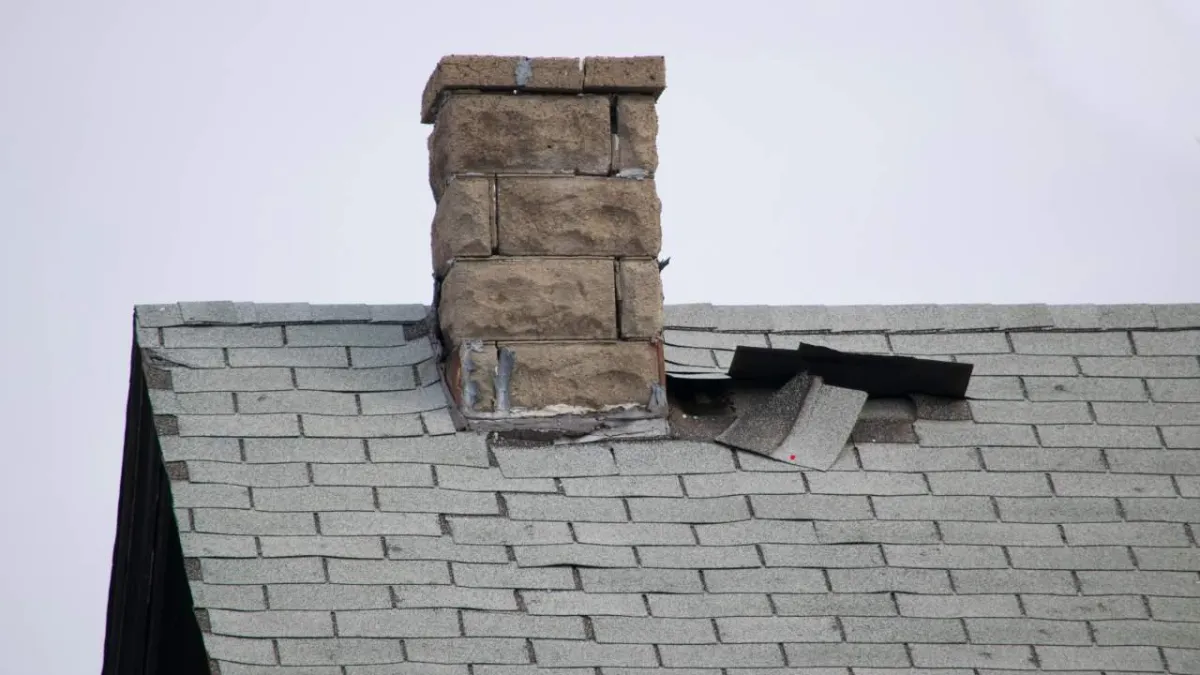
3 Steps to Take Before Your Roofer Arrives in an Emergency
When a roofing emergency hits—whether it’s storm damage, a sudden leak, or shingles ripped away by high winds—it can feel overwhelming. Water can seep in quickly, damaging walls, ceilings, and even your belongings. While you’ll want professional help right away, there are a few important steps you can take before the roofing crew arrives to minimize damage and keep your home safe.
In this article, we’ll walk you through three practical steps to take before your roofer shows up. These actions won’t replace professional repairs, but they will help protect your property in the meantime. If you’re in need of residential roof replacement Lakeland Florida, calling experts like Feichtel Roofing of Lakeland for reliable roofing services is always the long-term solution—but here’s how to handle the situation before help gets there.
Step 1: Contain the Water Inside Your Home
Once water begins entering through the roof, your first job is to prevent further interior damage. Grab buckets, large bowls, or any container you can place under active drips. If water has already pooled on the floor, use towels or a wet-dry vacuum to keep it from spreading.
Another smart move is to protect your belongings. Slide furniture away from leaks or cover it with plastic sheeting. Electronics, rugs, and wooden furniture can be ruined quickly by water exposure, so moving them out of harm’s way should be a top priority.
If you notice a bulging water spot on your ceiling, carefully puncture it with a small hole. While it may seem counterintuitive, this will release the trapped water and prevent the entire ceiling panel from collapsing under the weight.
Step 2: Safely Limit Further Roof Damage
The roof itself is dangerous territory, especially during a storm, so never attempt risky repairs. Instead, focus on quick and safe steps. If the weather has passed and conditions are stable, you may be able to place a tarp over the damaged section. Secure it tightly with wood planks or heavy objects so it doesn’t blow away.
This temporary fix won’t keep your roof watertight, but it will slow down the intrusion of water until professionals arrive. If you can’t access the roof safely, it’s better to wait. Risking injury is never worth it, and your roofer will be able to install proper coverings as soon as they’re on site.
Step 3: Document the Damage for Insurance
Insurance claims can be a headache, but clear documentation makes the process much smoother. Take photos and videos of all visible damage both inside and outside your home. Start with the roof itself, then move to ceilings, walls, flooring, and any belongings that were affected.
Make sure your photos are well-lit and show the extent of the problem from multiple angles. Having this evidence ready will save you time later when you file a claim. If it’s safe, keep any damaged materials or items in place until your adjuster can view them in person.
Case Study: A Quick Response That Paid Off
After a severe thunderstorm in Lakeland, a homeowner noticed water streaming into their living room through a torn section of roof. Before their roofer arrived, they quickly placed containers under the leak, moved their sofa to safety, and documented everything with their phone. By the time professionals arrived two hours later, the damage was limited to a small section of drywall and carpet—far less than what could have occurred. The homeowner’s insurance claim was approved quickly, thanks to the detailed photos they provided.
Final Thoughts
Roofing emergencies can be stressful, but a calm, proactive response makes a huge difference. By containing water inside, safely limiting further damage, and documenting everything for insurance, you’ll protect both your home and your wallet.
When the time comes for a permanent fix, trust a professional roofing company to restore your home to safety and comfort.
Dealing with a roofing emergency? Contact us for a fast and reliable solution.

